
Printers can be notoriously finicky devices, often causing frustration when they fail to work properly. Whether it’s a paper jam, a connectivity issue, or an ink cartridge problem, troubleshooting your printer can be a daunting task. However, there are several steps you can take to attempt to resolve the issues yourself before calling in professional help. In this article, we’ll explore 8 things you can do if your printer doesn’t work, helping you get back to printing your important documents as quickly as possible.
Key Takeaways
- Check the printer lights for error indications and ensure proper power supply connections.
- Restart both your printer and computer to reset the systems and resolve temporary glitches.
- Clear the printer queue to remove stuck print jobs that could be causing a backlog.
- Print a test page to diagnose and resolve issues with print quality or printer functionality.
- Address cartridge issues by checking ink levels, ensuring proper insertion, and aligning cartridges as needed.
1. Printer Lights

When your printer just won’t cooperate, the first thing to do is take a peek at the printer lights. These little indicators are your first clue to what might be going wrong. A steady or blinking light can signal different issues, from a simple paper jam to a more complex internal error.
- A solid light often means the printer is ready to print.
- A blinking light could indicate an error, such as a paper jam or an empty ink cartridge.
- No lights at all? Make sure your printer is plugged in and turned on.
If you’re unsure what the lights mean, grab your printer’s manual for a quick reference. It’s your best bet for decoding those cryptic signals. If you’ve misplaced the manual, no worries—most are just a quick download away from the manufacturer’s website.
Remember, the lights are there to help you troubleshoot effectively. So before you dive deeper into technical fixes, let those little lights guide you towards the right solution.
2. Printer and Computer Restart
When your printer decides to take an unexpected break, a simple restart can often coax it back to work. Turn off your printer by pressing the power button and wait for it to completely shut down. Then, unplug it from both your computer and the power source. Here’s a quick rundown:
- Press the power button to turn off the printer.
- Wait for the complete shutdown.
- Unplug from computer and power outlet.
- Restart your PC.
- Reconnect and power on your printer.
- Try printing something.
If the printer remains unresponsive, don’t fret! At Omaha Computing Solutions LLC, we understand the frustration. Swing by our Omaha Computer Store, where we offer a range of services including business IT support, e-recycling, and a store brimming with computer electronics. Whether you’re in the market for refurbished computers, used laptops, or even refurbished laptops, we’ve got you covered. And if you’re looking to upgrade, we have a selection of used desktop computers too.
Remember, a restart is not just about the printer;your computer needs a fresh start as well. After restarting your PC, ensure that all connections to the printer are secure and check if the issue persists.
3. Printer Queue

When your printer queue is overloaded, it can be like a traffic jam for your documents, leaving your Brother HL-L2405Wor any other printer unable to process your print jobs. Here’s a quick fix to get things moving again:
- First, locate the printer icon in your system tray or control panel.
- Right-click and select ‘See what’s printing’ to open the queue.
- From here, you can cancel all documents or remove them one by one.
Remember, a clear queue means a happy printer ready to handle your next project efficiently.
After clearing the queue, give your printer a moment to catch its breath. Then, send a new print job to ensure everything is running smoothly. If the issue persists, it might be time to dive deeper into troubleshooting or consider professional help.
4. Test Page

When your printer is acting up, a good old-fashioned test page can be a quick way to figure out what’s going wrong. It’s like giving your printer a mini check-up. Here’s how you can do it on a Windows machine:
- Open the Control Panel from the Start menu.
- Click on ‘Devices and Printers’.
- Right-click on your printer and choose ‘Printer properties’.
- Hit the ‘Print Test Page‘ button under the General tab.
If your test page comes out looking like a modern art masterpiece instead of the crisp document you were expecting, don’t panic. It’s just a sign that we need to dig a little deeper into the issue.
Remember, if the test page prints without any hiccups, you’re likely in the clear. But if it’s more Picasso than page-perfect, it’s time to move on to the next troubleshooting step.
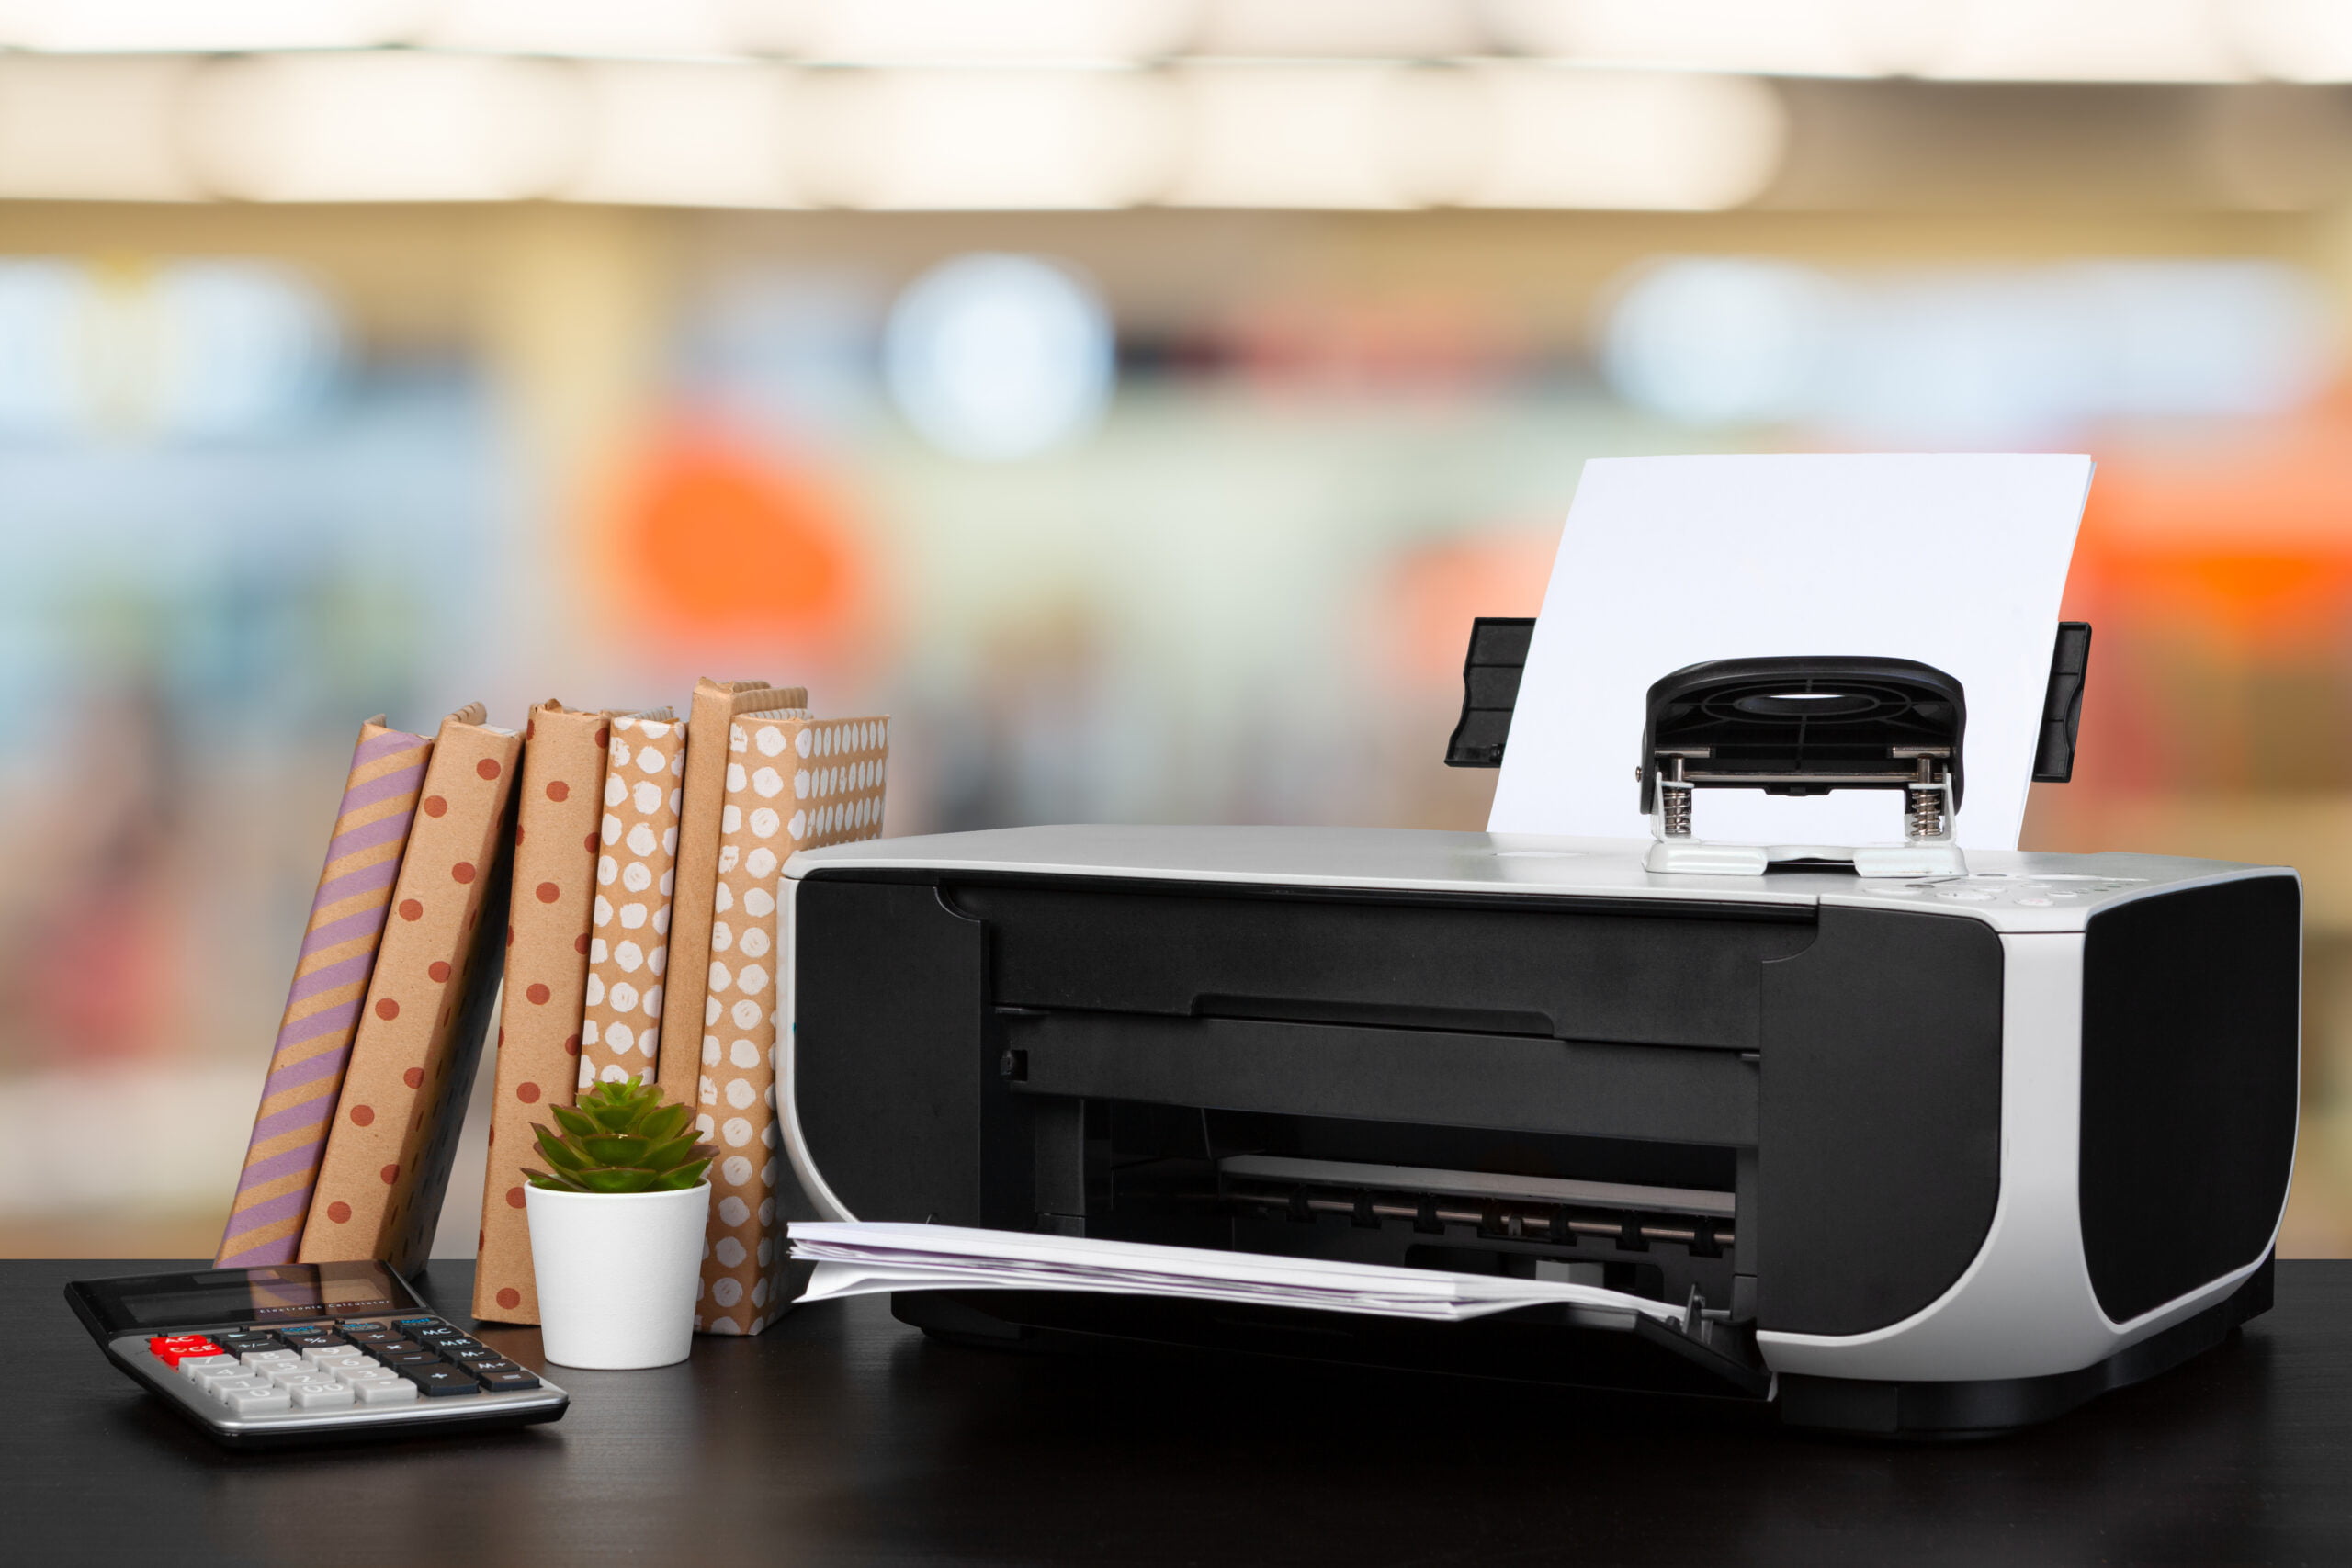
5. Cartridge Issues
When your printer is acting up, one of the first things to check is the cartridge. It’s a common culprit, but the fix can be simple. Here’s what you should look at:
- Ink Levels: Make sure your cartridges aren’t empty. Your printer or its software can usually tell you how much ink is left.
- Cartridge Placement: Ensure that cartridges are properly inserted and secured in place. A loose cartridge can lead to poor printing quality.
- Protective Tabs: If you’ve just replaced a cartridge, check for any protective tabs or seals that might be blocking the ink from flowing.
Remember, a well-maintained cartridge is key to consistent print quality. Regular checks and maintenance can prevent many common printing issues.
If you’re still having trouble after checking these points, consider visiting our website for more detailed support. We offer a range of business IT services, including help with printers. Plus, you can find a variety of electronics and accessories in our store, including details on the HP LaserJet P2055DN Printer.
6. Print Head
If you’re facing poor print quality, the culprit might be a clogged print head. This is a common issue that can lead to frustrating printing errors. But don’t worry, it’s often an easy fix!
First, let’s try a simple cleaning cycle to unclog those pesky print heads. If you’re using Windows, follow these steps:
- Navigate to ‘Devices and Printers’ in the Control Panel.
- Right-click on your printer and choose ‘Printer properties’.
- Select ‘Maintenance and Preferences’ under the Maintenance tab.
- Choose to perform a regular cleaning or deep cleaning, depending on the severity of the clog.
Remember, always have paper loaded in your printer before starting the cleaning cycle.
For Mac users, the process is just as straightforward:
- Open System Settings via the Apple menu.
- Click on ‘Printers &Scanners’.
- Select your printer and click on the options button.
- Under the ‘Supply Levels’ tab, you can manage your print head cleaning.
If the problem persists after cleaning, you may need to look into more detailed troubleshooting steps or consider replacing the print head. Keep in mind that regular maintenance can prevent these issues, so make it a habit to check on your print head’s condition.
7. Printer Cartridges Alignment
When your documents start to look a bit off, with jagged lines or misaligned text, it’s a sign that your printer cartridges might need some attention. Aligning your printer cartridges is a straightforward process that can vastly improve the quality of your prints.
First, load your printer with paper. Then, follow these steps to align your cartridges:
- Access the Control Panel, then navigate to ‘Devices and Printers’.
- Right-click on your printer and choose ‘Printing Preferences’.
- Under the Maintenance tab, find ‘Maintenance and Preferences’.
- Select the option to align the print head and follow the on-screen instructions.
If you’re using a Mac, the process is just as simple:
- Head to ‘System Settings’ and select ‘Printers &Scanners’ under the Apple menu.
- Click ‘Open Printer Utility’, then go to the Utility tab.
- Choose ‘Maintenance’ from the Control menu.
- Click on ‘Print Head Cleaning’ and proceed as directed.
Remember, regular calibration and maintenance of your printer are key to ensuring consistent, high-quality output. Don’t wait for the quality to drop;make alignment checks a part of your routine printer care.
If you’re unsure or if the problem persists, don’t hesitate to reach out to us at Omaha Computing Solutions LLC. We offer a range of business IT services, including support for printer issues, to keep your operations running smoothly.
8. Printer Troubleshooter
When your printer throws a tantrum, don’t fret! Running the printer troubleshooter can be your tech-savvy lifesaver. This handy tool is part of your printer’s software, designed to diagnose and fix common issues automatically. Here’s how to get it started:
- Click the Start menu and navigate to Settings.
- Choose ‘Update &Security’ and then select the ‘Troubleshoot’ tab.
- Look for the printer troubleshooter under the ‘Get up and running’ section and run it.
Remember, the exact steps may vary depending on your printer’s brand and model, so it’s always a good idea to check the manual or manufacturer’s website for specific instructions.
If the troubleshooter doesn’t solve the problem, don’t hesitate to reach out to us at Omaha Computing Solutions. We’re here to help with all your printer woes and more. From IT services to the latest in computer products, we’ve got you covered!
Struggling with printer issues? Don’t let technical glitches halt your productivity. Visit our website’s ‘Printer Troubleshooter‘ section for expert guidance and solutions. Whether it’s a paper jam, connectivity problem, or driver update, we have the resources to get your printer back up and running smoothly. Don’t wait, troubleshoot your printer woes with us today!
Wrapping Up Printer Troubles
We’ve journeyed through a comprehensive list of troubleshooting steps to help you revive that stubborn printer. From checking the lights to running the printer troubleshooter, these tips are designed to guide you through the common pitfalls of printer issues. Remember, the solution might be as simple as restarting your devices or as technical as updating your printer drivers. Each printer is unique, so while these steps are a great starting point, always consider your printer’s specific model and instructions. Don’t let printer problems get you down—armed with these tips, you’re now well-equipped to tackle any printing challenge that comes your way. Happy printing!
Frequently Asked Questions
What should I do if my printer’s lights are on but it’s not working?
Check the printer manual to understand what the specific lights indicate. If no lights are on, ensure the printer is properly plugged into an outlet and connected to your computer. If issues persist, consider other troubleshooting steps.
What steps can I take if restarting my printer and computer doesn’t fix the issue?
After restarting, if the printer still isn’t working, try clearing the printer queue, checking for cartridge issues, or running a printer troubleshooter. Ensure your printer drivers are up to date as well.
How can I clear my printer queue if documents are stuck and won’t print?
Access the printer queue via your computer’s control panel or settings. From there, you can cancel all documents and restart the print job. If the problem persists, a system restart might be necessary.
Why should I print a test page and how do I do it?
Printing a test page can help determine if the printer is functioning properly. You can usually print a test page by accessing the printer’s properties or settings directly from your computer or the printer’s control panel.
What are common cartridge issues that can prevent a printer from working?
Common issues include low ink levels, improper cartridge installation, and clogged nozzles. Check ink levels, ensure cartridges are correctly installed, and run cleaning cycles if necessary.
What should I do if I suspect the print head is clogged?
If the print head is clogged, you can try running the printer’s cleaning function to unclog it. If this doesn’t work, manual cleaning with a damp cloth or specialized solutions might be needed.
How can I align my printer cartridges, and why is it important?
Aligning your printer cartridges ensures accurate and high-quality prints. This can almost always be done through the printer’s software or using the printer control panel. Follow the screen prompts to complete the process.
What are the steps to run a printer troubleshooter on Windows?
To run the printer troubleshooter on Windows, go to Settings, select Update &Security, then Troubleshoot, and choose the printer troubleshooter under the ‘Get up and running’ section. Follow the on-screen instructions.